
 |
| Test battle against Black Templar |
So, this last Sunday, Tom and I got together to test out our Team Shenanigans list(s). Our intention was to travel to the not so local game store that the event will be held at in order to familiarize ourselves with the terrain and the meta there. Well, as our lack of luck would have it, they were closed on Sundays. So we made the long drive home to play at our regular store. We wound up fighting 2,000 points of Black Templar because Donovan's partner wasn't able to make it. We learned some pretty interesting things.
In the interest of saving a little space, I'll link to the lists we used in this article. They're unchanged from how they appear there. Donovan's army was built around the SUPER COMMAND SQUAD that he had used previously. He filled in some missing anti tank with Cyclone Terminators and a Venerable Dreadnought. So, onto first turn...
 |
| The board at deployment |
We decided to use the Bay Area Open scenario (used in the last report) because it seems to be a good benchmark for determining how competitive a list can be. We lost the roll to go first, as usual, and deployed according to the rules for Pitched battle. Our Capture and Control objective is behind the ruin we're occupying on the left. That ruin will hereto forth be referred to as the Tower of Power! In the center in the foreground, you can see one of the Seize Ground objectives.
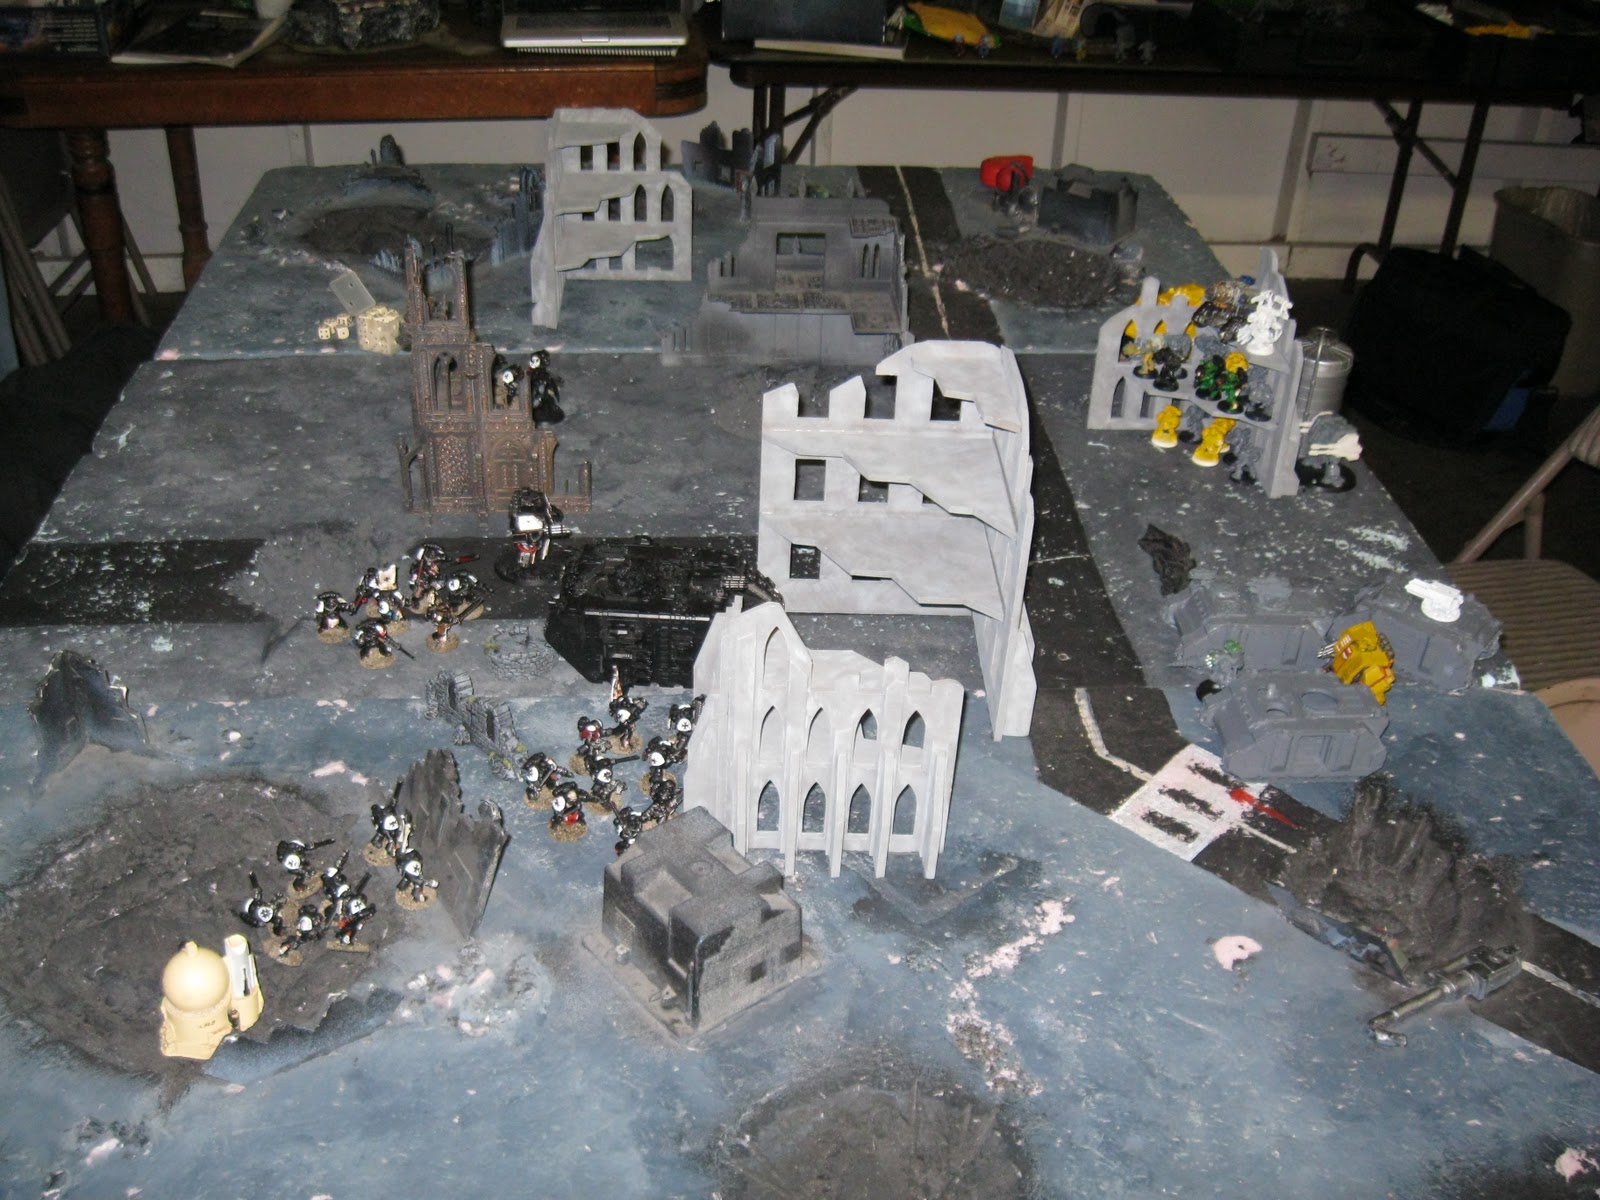 |
| Here's deployment from the other side. |
Tom and I decided that our superior range would best be used by taking the center of the table. So, we build an armored wall around ourselves and deploy the Thunderfire Cannon, Long Fangs, and Lascannon squads in the Tower of Power! They're pretty safe there because the Techmarine has reinforced the ruin giving them +1 to cover saves. In the foreground on the left, you can see Donovan's Capture and Control objective in the form of the small, tan building.
 |
| The Tower of Power! It's pretty cramped in there. |
 |
| Turn one's movement |
Our first turn saw us shuffling our armor around to give us some cover while still providing lanes of fire to the Dakka Dreadnoughts. Lascannons fail to hurt the Land Raider and Missiles stun the Dreadnought. Not much else happens.
 |
| A second picture of first turn. Donovan's Terminators hug a Seize ground objective. |
 |
| Bottom of turn 2. |
Donovan uses his second turn to shield his stunned Dreadnought with his Land Raider; a clever move which will keep it around the whole game. His terminators lay into our armor, but we pass cover saves, having smoked before.
 |
| Our second turn saw us holding our ground and laying down some annoying fire. |
Tom and I use our second turn to get some more shots in on Donovan's forces before they finish their approach. The Lone Wolf sneaks up to support the Grey Hunters.
 |
| Turn three sees the gap closed. |
Donovan begins to aggressively approach us in turn three and hops the SUPER COMMAND SQUAD out of their Land Raider. The other Crusader squads sneak up through the ruin and the Terminators begin to move up the side towards the next Seize Ground objective. Tom and I shift our armor again for protection, though Donovan's bad rolls have failed to damage them thus far. His Lone Wolf engages the Land Raider but is destroyed by the SUPER COMMAND SQUAD! Though just barely...
 |
| Alternate view. Donovan's consolidation sees our armor surrounded. |
 |
| Turn four gets real! |
With such a massive threat in our midst, it was now time to engage the SUPER COMMAND SQUAD! We shock and shuffle our armor around in order to get the best shots we can. We manage to drop about a third of the squad with the combined firepower of our nearly our whole army. We also manage to immobilize the Dreadnought. Some lucky shots manage to bring down the Emperor's Champion (whew!) and some more shots bring down the Terminators marching up our flank. Knowing how dangerous the SUPER COMMAND SQUAD is in assault, we engage it with our Dreadnoughts in light of the fact they don't have Krak grenades. :)
 |
| Dreadnoughts, ENGAGE! |
 |
| Alternate angle. |
 |
| Turn four. An uphill battle. |
The Deadnoughts remain locked in combat and one is wrecked. Tom's wolves were engaged by a combined force of the Crusader Squads that had moved through the ruins, and my Rhino moves up after the final Terminator is killed by a lucky Plasma Cannon shot :) Not before he wrecked my flank Dreadnought, however. Both of my Dreadnoughts are now out of commission. Chaplain Cassius splits off to pick off units from the SUPER COMMAND SQUAD! He manages to snipe the Chaplain out of the squad and saves all the wounds returned against him. The rest of the little combat squad moves toward the Seize Ground objective.
 |
| Turn five sees more of the same |
Tom's Dreadnought and Cassius continue to whittle away at the SUPER COMMAND SQUAD! Meanwhile, the Crusader squads continue to eat the Grey Hunters, despite the aid of my Tactical Combat squad.
 |
| My flank Combat squad reembarks in their Razorback to capture the Seize Ground objective. |
Having finally broken the assault with the Crusader squads, Tom and I seek to capture a second Seize Ground objective and to contest Donovan's Capture and Control objective with some fast movement of our Rhino and Razorback.
 |
| Our vehicles are just out of range, however. (Lower part of the picture) |
We roll to see if the game goes on to turn 6 and it ends, so we're unable to reach the objectives. We wind up tying on Kill Points, but what scrapes us by with the win is Seize Ground objectives, 1-0. It was an extremely close game with some very brilliant tactics on the part of Donovan that kept us struggling to the very end. Considering he's one of the newer players in our local group, he's come a very long way and will be an even greater player. :)
So, what did I take away from the battle? Several things. Our list actually did pretty well against a list designed for shenanigans. The SUPER COMMAND SQUAD was a very tough nut to crack, but we kept it from tabling us; that's a lot more than many local players can say. We also did very well with target priority and unit positioning. However, it should be taken into account that the army we fought had pretty weak anti tank which could become a large threat. What was the winning element of our game? Dice. Yes, I understand this goes without saying, but Tom and I just bought square-edged dice this week and we were astonished at how much better they rolled. Certain acts marines should be capable of seemed like miracles when we actually did them. I highly recommend picking up a set for yourself. The difference was night and day. So, what do you think? Are there any ways you can see that we can improve our lists? I'd love to hear your input. Feel free to comment here, or on the list article itself. :) I'd be very grateful for any edge you think you can contribute.
No comments:
Post a Comment